Creating Migrations
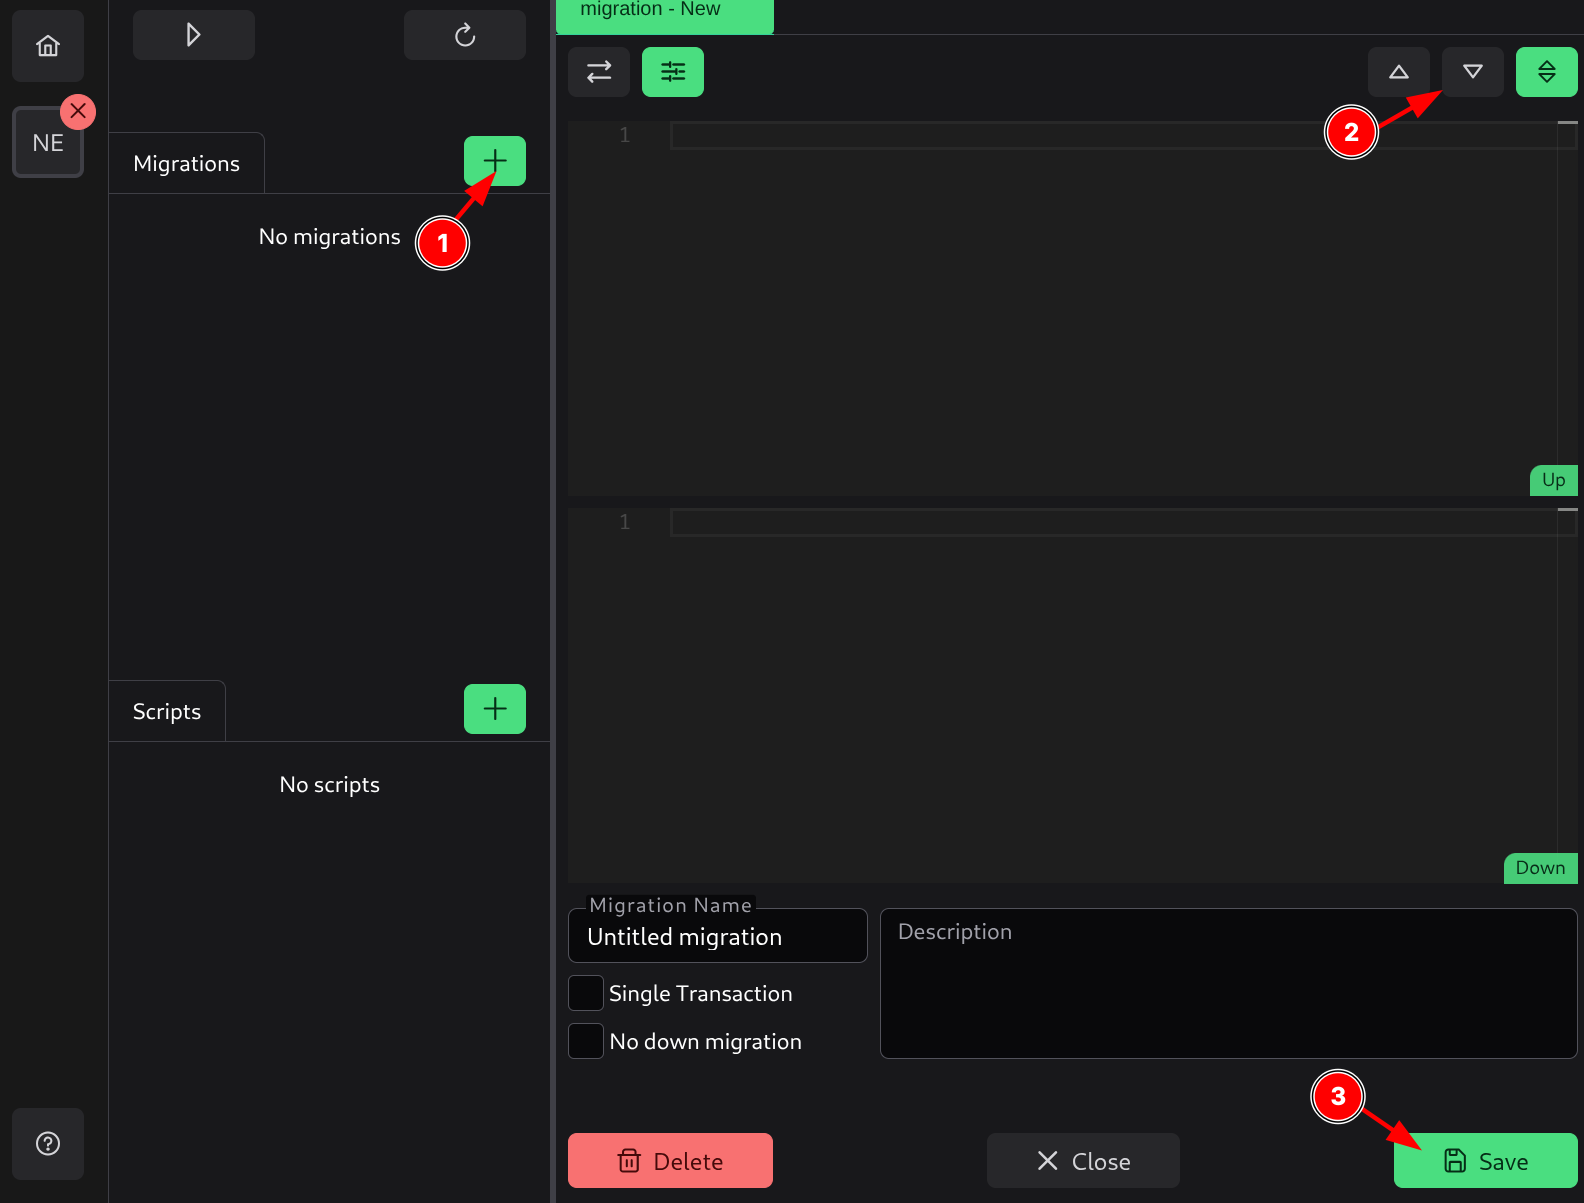
To create a migration, click the plus button (1), which will open a new migration tab. This migration tab will show two editors by default:
- Up editor - Where you edit an Up migration.
- Down editor - Where you edit a Down migration.
In the top right, you can change the editor view (2) to switch view modes and see only Up, Down, or both migrations.
Every migration file has settings you can configure:
- Name - Name of the migration.
- Description - Description of the migration.
- Single Transaction - Whether to run the migration in a single transaction.
- No down migration - Whether this migration has no down migration. This will disable the down views.
You can also add dynamic replacements for this migration.
Once a migration is ready to be saved, you can save it by pressing the Save button (3) or pressing Ctrl+S. This will save it in the project and add it to the list.